Your first cycling race at the GENERALI VeloCity Berlin Part 2
How to reach the finish safely and enjoyably
In the second part of this series, we will provide tips on how to improve cycling safety for yourself and thus for all participants in the GENERALI VeloCity Berlin. Individual bike control consists of braking, balancing, cornering and jumping. Beginners will learn how to increase their riding safety, while ambitious riders will also save time through better individual bike control, e.g. through more effective braking, faster negotiation of bends and more economical avoidance of obstacles.
Correct braking when cycling
The main braking force is transmitted with the front brake. When braking, the joint weight of cyclist and bike shifts to the front, placing the force on the front wheel and less on the rear wheel. This becomes clear with suspension forks: these compress when braking. The same can be observed when the bonnet of a car lowers when braking. Therefore, the greatest braking effect can be achieved at the front rather than at the rear. You have to adjust the braking force to ensure that the wheels do not lock. If the front wheel locks, there is a risk of rollover. If the rear wheel locks, there is a risk of skidding, and the braking distance increases.
Avoid an emergency with these tips
You have to shift your body weight and thus your centre of gravity as far back as possible in order to minimise the risk of rollover and thus be able to brake more strongly. Your buttocks should scoot behind the saddle, so stretch your arms out completely and in extreme cases (emergency braking) "lay" your stomach on the saddle. Grip the handlebars as low as possible, i.e. a racing handlebar in the lower handlebar position with your fingers on the brake.
This shifts your centre of gravity downwards to further minimise the risk of rollover and thus to be able to brake even more strongly. Practice these techniques! In an emergency you don't have time to think, braking must be completely automatic!
The perfect exercise for your safety
Find a parking space or another open area. Draw a line, e.g. with chalk. Ride towards the line and brake as follows: Grip the handlebars low, stretch your arms, shift your centre of gravity to the rear, brake harder at the front than at the rear without blocking the wheels. Practice makes perfect—it's all about your safety and your health! You should be able to stop on dry asphalt from a speed of 30 kpm in less than ten metres without blocking a wheel—six to seven metres is very good.
Balancing properly with the bike
Train your sense of balance. A well-developed sense of balance directly increases driving safety through a better cycling line. But braking, cornering, jumping and going around obstacles are all also easier with a good sense of balance. A simple exercise to improve your balance and eventually be able to balance at a standstill is to ride very slowly. Find a parking space in an empty parking lot and try to ride across it as slowly as possible: the longer you take, the better!
Two-wheel exercises with plenty of added value
With a little practice, you can learn to stop completely for a short time by braking. Just before you think you are going to fall over, ride a little further.
Tip: In the beginning, use trainers instead of cycling shoes; this eliminates the need to click out of the pedals and reduces the risk of falling. The last step is to balance at a complete standstill. The handlebars are slightly turned in, the cranks (important) are horizontal. To ensure that your foot and the front wheel do not touch, the foot on the side you are steering towards should be out in front (example: if you are steering to the right, the foot and front wheel could touch on the left, so your right foot must be in the front).
Tip: Start out by getting slightly out of the saddle (not sitting on it) with the cranks horizontal (but keep your knees bent!), as it's easier to keep your balance that way.
If you can balance while standing, you don't have to click off at every traffic light and you can start riding again more quickly. With the resulting faster acceleration, you also can save a lot of energy when approaching a group.
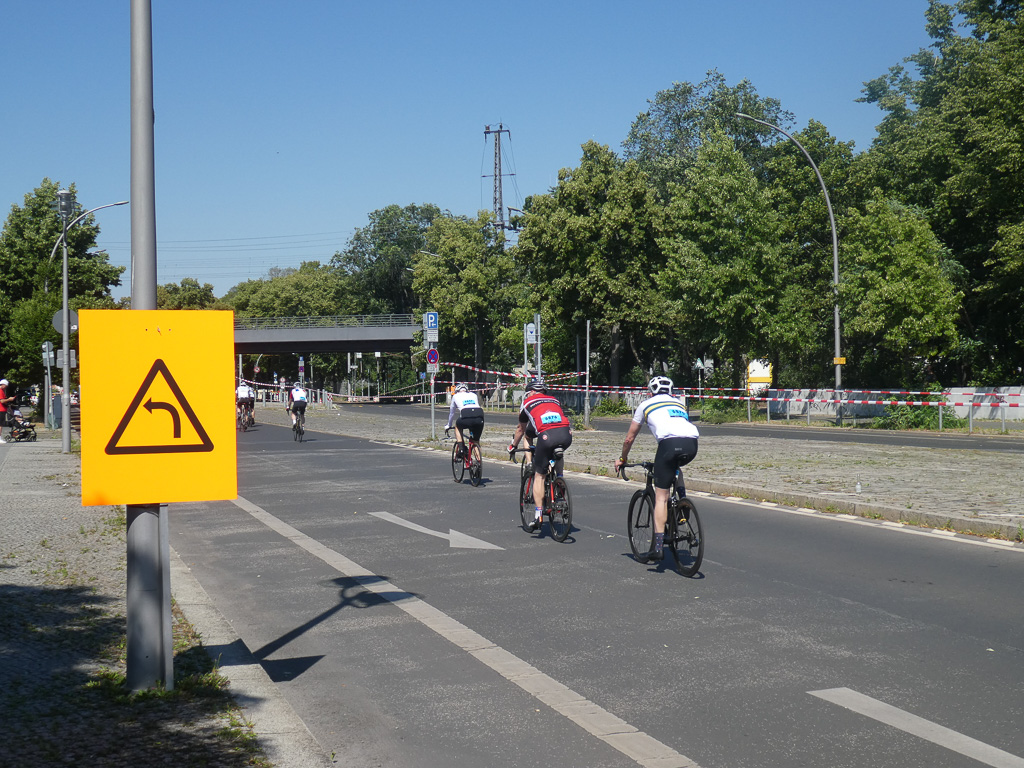
Turning properly with the bike
The inside leg of the turn should be on the frame and not flared towards the centre of the turn. This puts the wheel and the entire body in line, which increases the contact pressure of the wheel and thus the static friction. This makes it possible to negotiate bends more safely and at a higher speed. The foot of the inside leg should be at the top in tight corners where you cannot pedal through them. Your centre of gravity should be as low as possible.
Therefore, in tight turns or at high speeds, you should reach for the lower handlebar position. In order to distribute the power as evenly as possible between the front and rear wheel and thus prevent the rear wheel in particular from slipping, your buttocks should be pushed backwards on the saddle.
The right feeling for curves
Cornering becomes safer if you set your gaze not at the road directly in front of the wheel, but as far into the curve as possible.
The first exercise is to ride in a circle at low speed. Keep on pedalling. Make the circle smaller and smaller until the diameter is only two to three metres. Then ride a figure eight at low speed, while continuing to pedal. On the road, find a winding road with as little traffic as possible. Ride this route several times at higher and higher speeds. Slight downhill stretches are suitable, and as you advance add in steeper downhill stretches. This way you will get a feeling for the curves and the higher speeds.
Jumping with the wheel increases safety
Jumping primarily improves your safety, but it is also a faster driving style. Small obstacles such as holes in the road or railway tracks can be overcome without leaving the line of travel and without loss of speed. In road traffic, avoiding an unexpected obstacle, e.g. a car taking the right of way, is sometimes only possible if you choose to ride towards the kerb and jump onto it.
These exercises will prepare you
These exercises can also be carried out in an empty car park with marked parking spots. Ride along the side of the parking spots so that you cross a line every 2.5 metres.
- First exercise: Lift the front wheel over each line so that the front tyre does not touch any of the white lines. If this is too difficult at first, lift the wheel every second or third line. Support the lifting motion by getting out of the saddle with your knees slightly bent and the crank in a horizontal position, shifting your body weight backwards and pulling up on the handlebars.
- Second exercise: Lift the rear wheel at every line so that the rear tyre does not touch any of the white lines. If this is too difficult at first, only lift it at every second or third line. Support the lifting motion by getting out of the saddle with your knees slightly bent and the crank in a horizontal position, shifting your body weight forward and pulling the pedals upwards.
- Third exercise: Lift the front and rear wheel alternately on each line so that the tyres do not touch any of the white lines. Support the lifting motion by getting out of the saddle with your knees slightly bent and the crank in a horizontal position and shifting your body weight accordingly.
- Fourth exercise: Now try to jump completely over a line. To help you jump, get out of the saddle with your knees slightly bent and the crank in a horizontal position and shift your body weight upwards in a jerk: pull the pedals and handlebars upwards ahead of the line. Don't ride too slowly—the faster you go, the easier it is to keep your balance. When you have accomplished this skill, you should be able to ride so fast and jump so high that you can completely jump over a line without touching the tyres.
Hand signals when cycling in a group
In order to increase safety in the group, some hand signals have been adopted, which are passed on from the front to the rear riders. It is difficult or impossible for those further back to see any obstacles ahead, and the hand signals inform the whole group.
The following signs have proven their worth:
- A clearly extended arm upwards means "stop", e.g. in front of a stop sign.
- An arm stretched out to the left or right indicates the direction of travel, both at intersections and on blind bends.
- If a hand points down to the left or right, an obstacle such as a pothole or stone is to be expected there.
- If a hand is moved behind the back from the outside to the middle, an obstacle such as a parked car is to be expected on the corresponding side and the road narrows as a result.
- If a rider simultaneously moves both elbows outwards once or twice, they want to stand up and you have to increase your distance from them a little.
- Moving only one elbow means that the rider wants to move out of the lead.
You can find more useful hand signs here